
So after work I picked up some clear laser printer mailing label media from Avery at the local Office Depot. I wanted to pick some up to test how it behaves when being cut, applied in multiple layers, and even a quick test splash of Testors Acrylic paint with a brush to see how it adheres.

Workbee test piece “blueprint” created in Adobe Illustrator.
It looks real promising. I didn’t yet print anything on them, as I wanted to get it home and use some of the margin scrap on one of the sheets to test. Cut some with an X-Acto knife, laid some over a laser print rough of some of the workbee “blueprints” of the flattened components, and generally see how it behaves before starting any test prints with it.
The stuff has a great matte finish, which takes burnishing well without sacrificing its soft matte finish. It is also very thin. Measuring in at a scant 0.06mm which is thinner than the average human hair by nearly 40%. So it gives a nice clean non-distorted view of the underlying printed or painted surface.
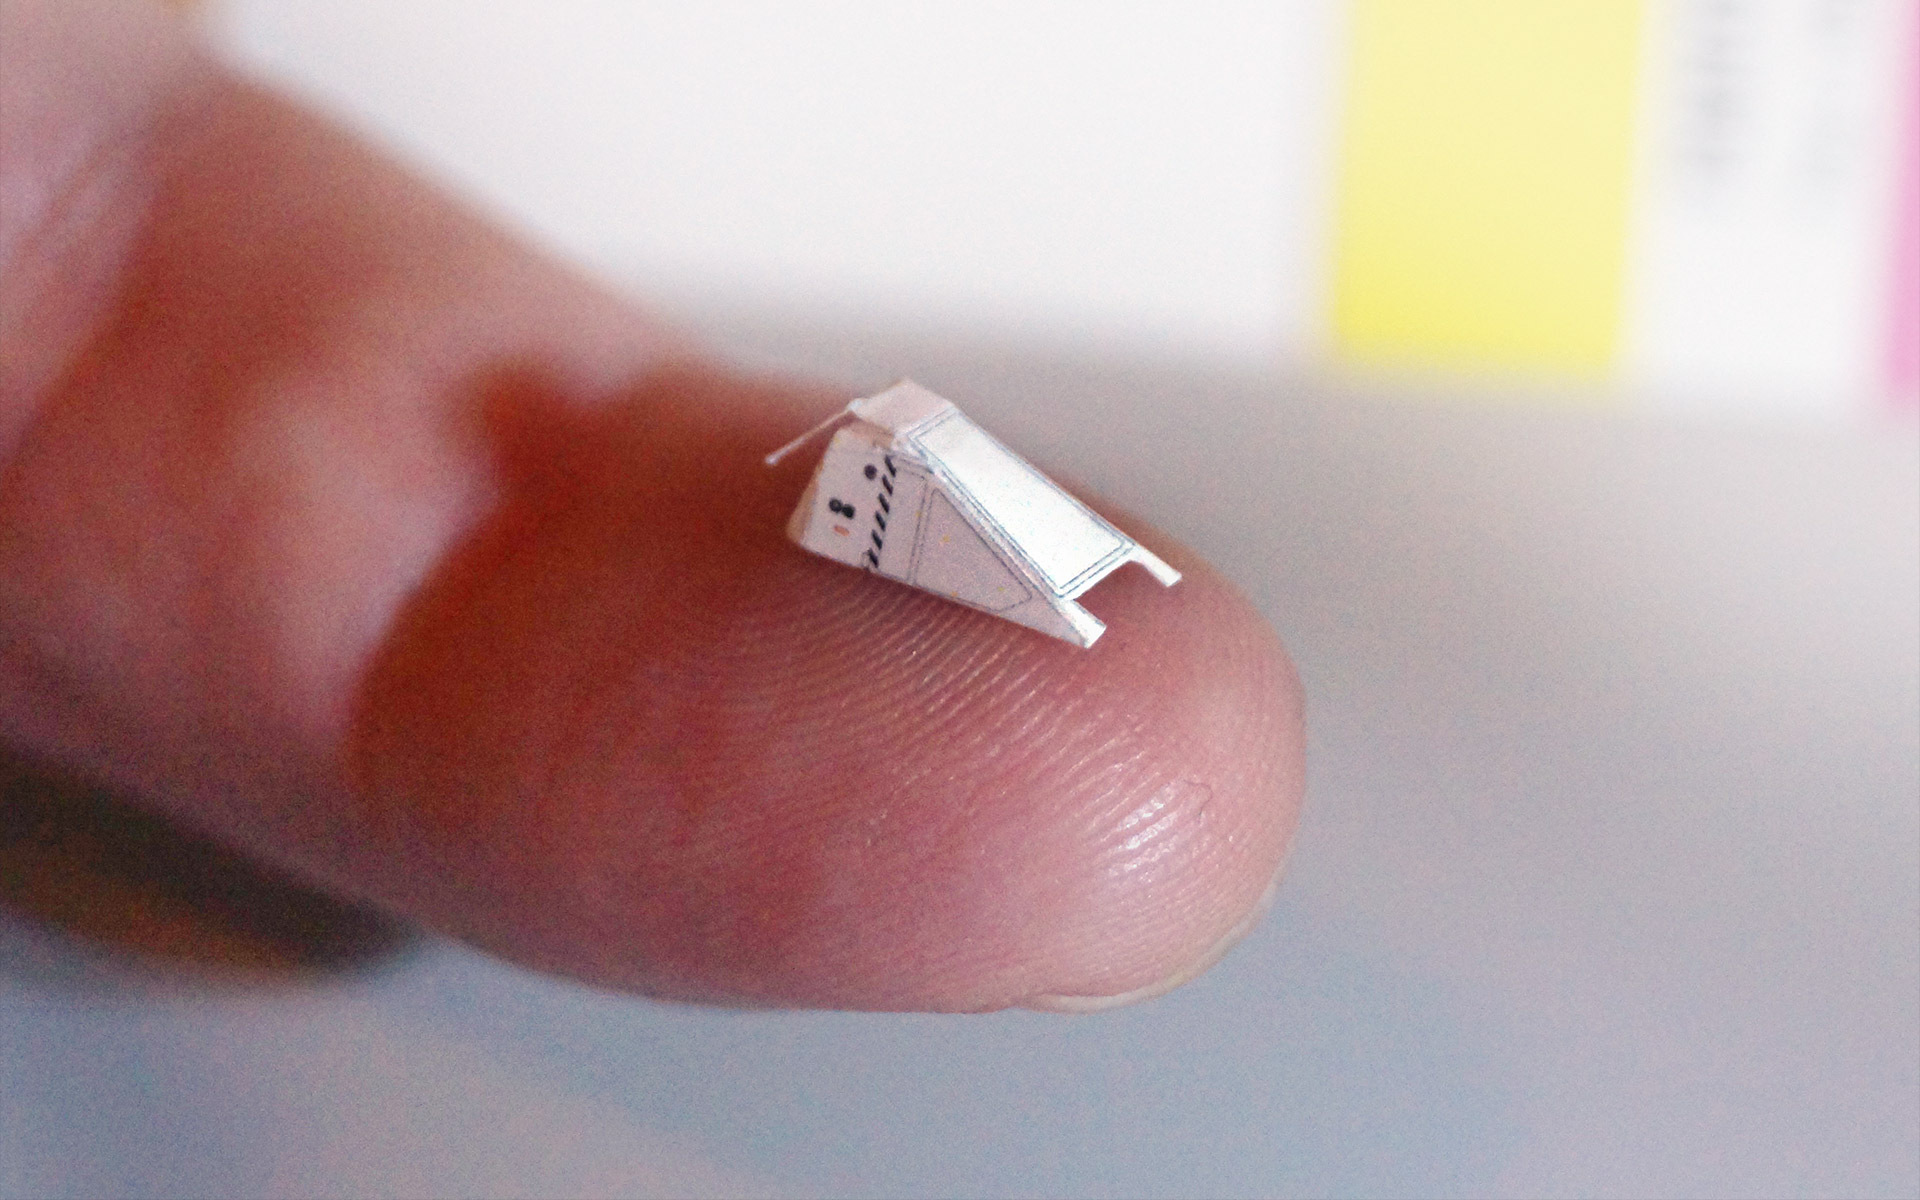
Workbee rough paper test is really small.
So I will spend the next several days working on the “blueprints” some more to get them laid-out with enough variations in line weights, cutting guide marks, and with a full bevy of sub-parts. So when I commit to running off a sheet I have some good pieces to work with and test out how well printed toner holds up, building some composite “laminates” to layer over each other, etc.
As I had hoped, these look like they might work well as custom cut window masking friskets for painting the workbee. This means I can explore the approach of cutting the underlying base pieces out of some smoke-tinted acetate I picked up the other day. This would give the tinted window look of the actual filming model, and then paint on the base hull color, then start layering on the various printed faces and build up detail panels, etc.
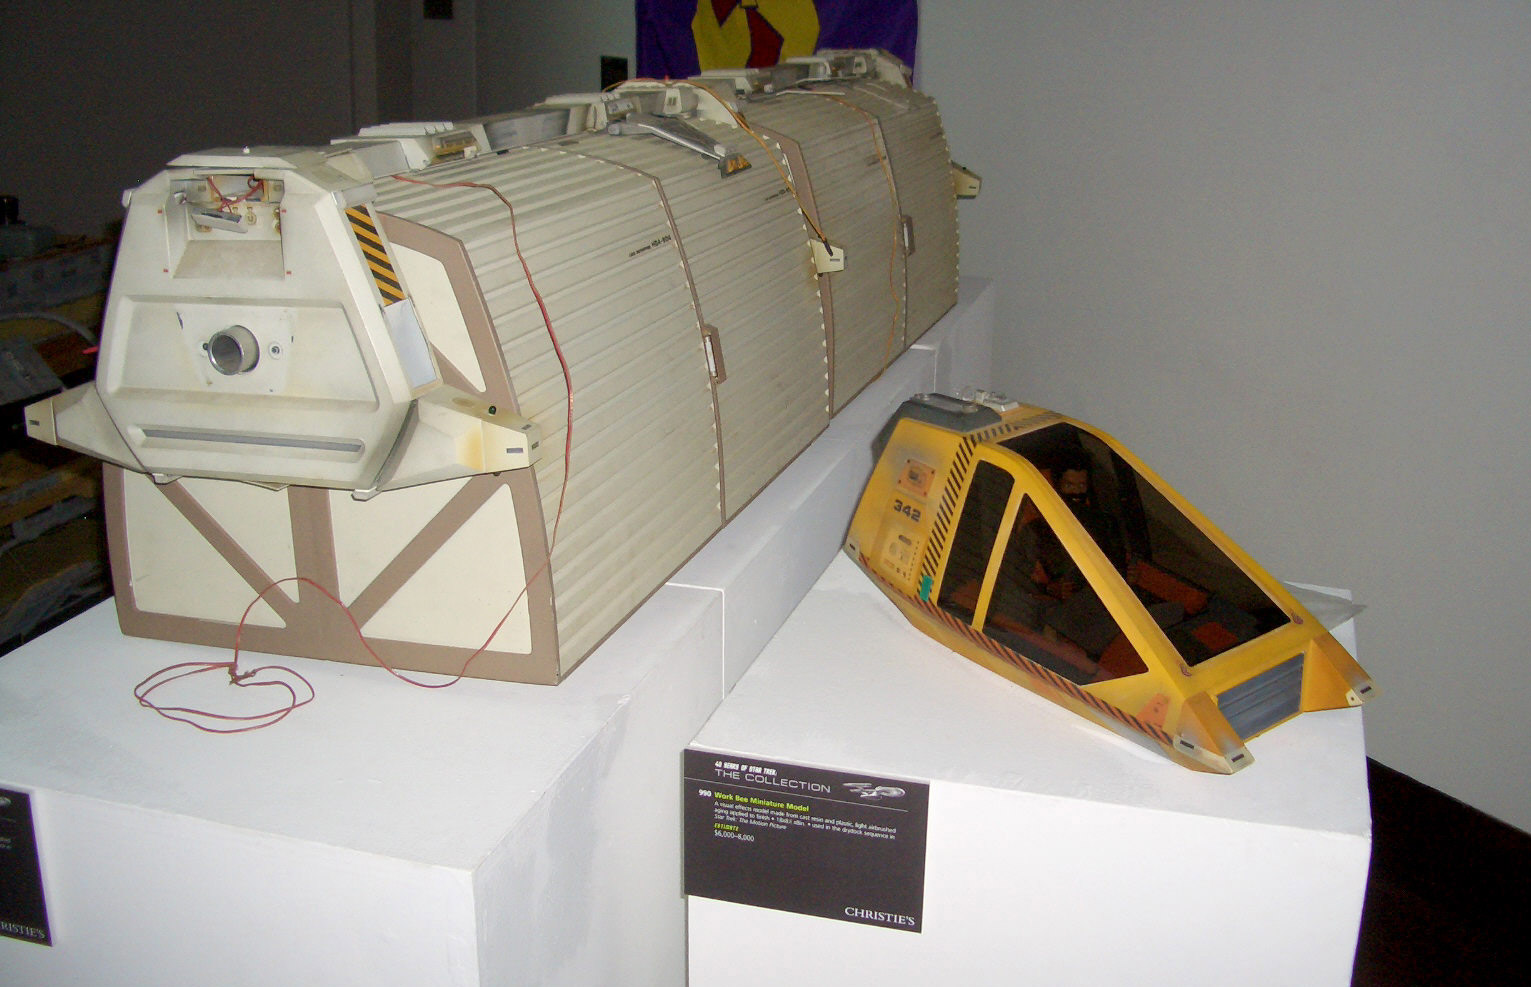
Workbee filming model, at auction at Christie’s in 2009.
In the mean time, I cut a paper test piece out of just a laser print on some white smooth bond paper to see how the test folds on one of the “blueprint” files, printed at scale, would work. It is good practice getting my cutting and tweezer chops back in shape. This also affords me a chance to see what level of printed detail can hold up, and what level just won’t hold up at such a small scale. As well as what fold tabs I should include (if any) for the underlying base acetate layer.
Not too bad, even given the rather rushed job I did, cutting through paper with a not-so-new blade in the X-Acto. Taking the time and cutting through and weeding out the Avery label material will be butter by comparison.
