
A quick update on this evenings progress with the workbees.
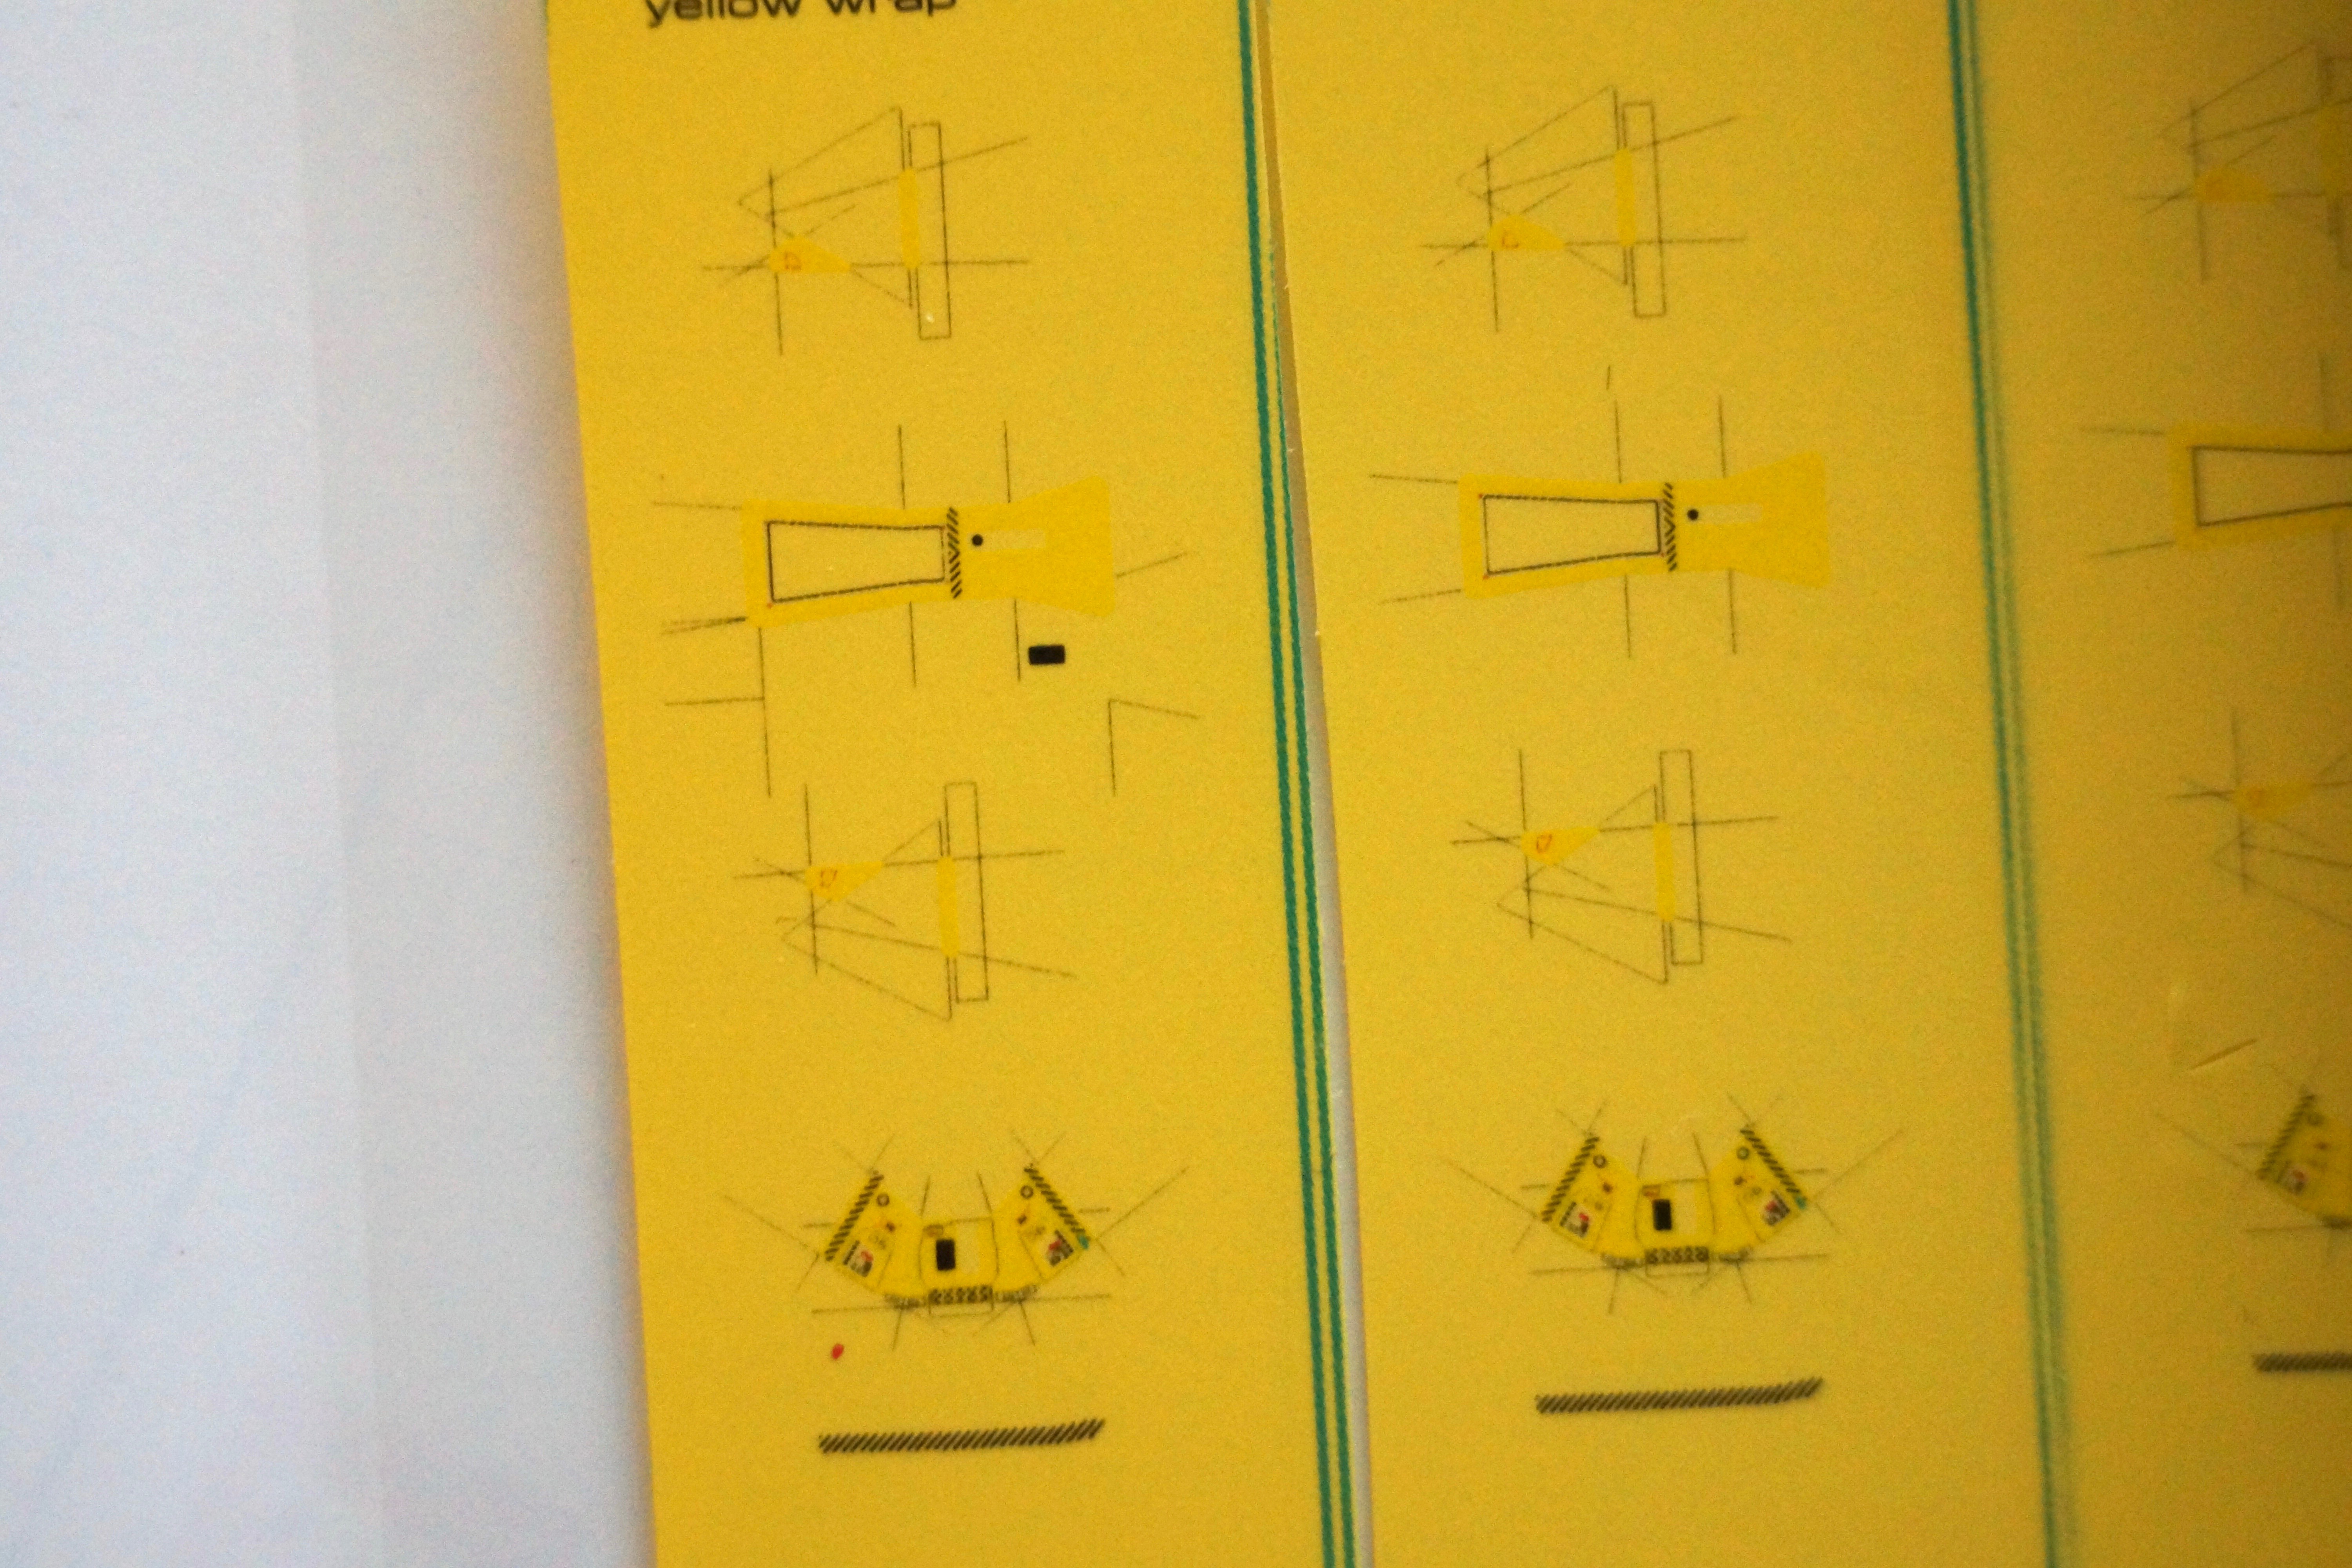
Detail of the upper-hull panel faces before cutting out and weeding off the transparency carrier.
I cut out some of the yellow PVC tape print runs I did yesterday after work, and applied them to the quick glue assembly of the upper-hull from last night.
It worked out pretty well.
I need to make some further adjustments to the underlying artwork for the acetate layer to the top/front face, as well and shortening the aft face edge fold line point to account for and accommodate the outside radius of the acetate folds and the vinyl panel thickness. This should close the gaps you can see in various spots, particularly in the fit between the back face and the aft side panels in the lower four photos on the right.
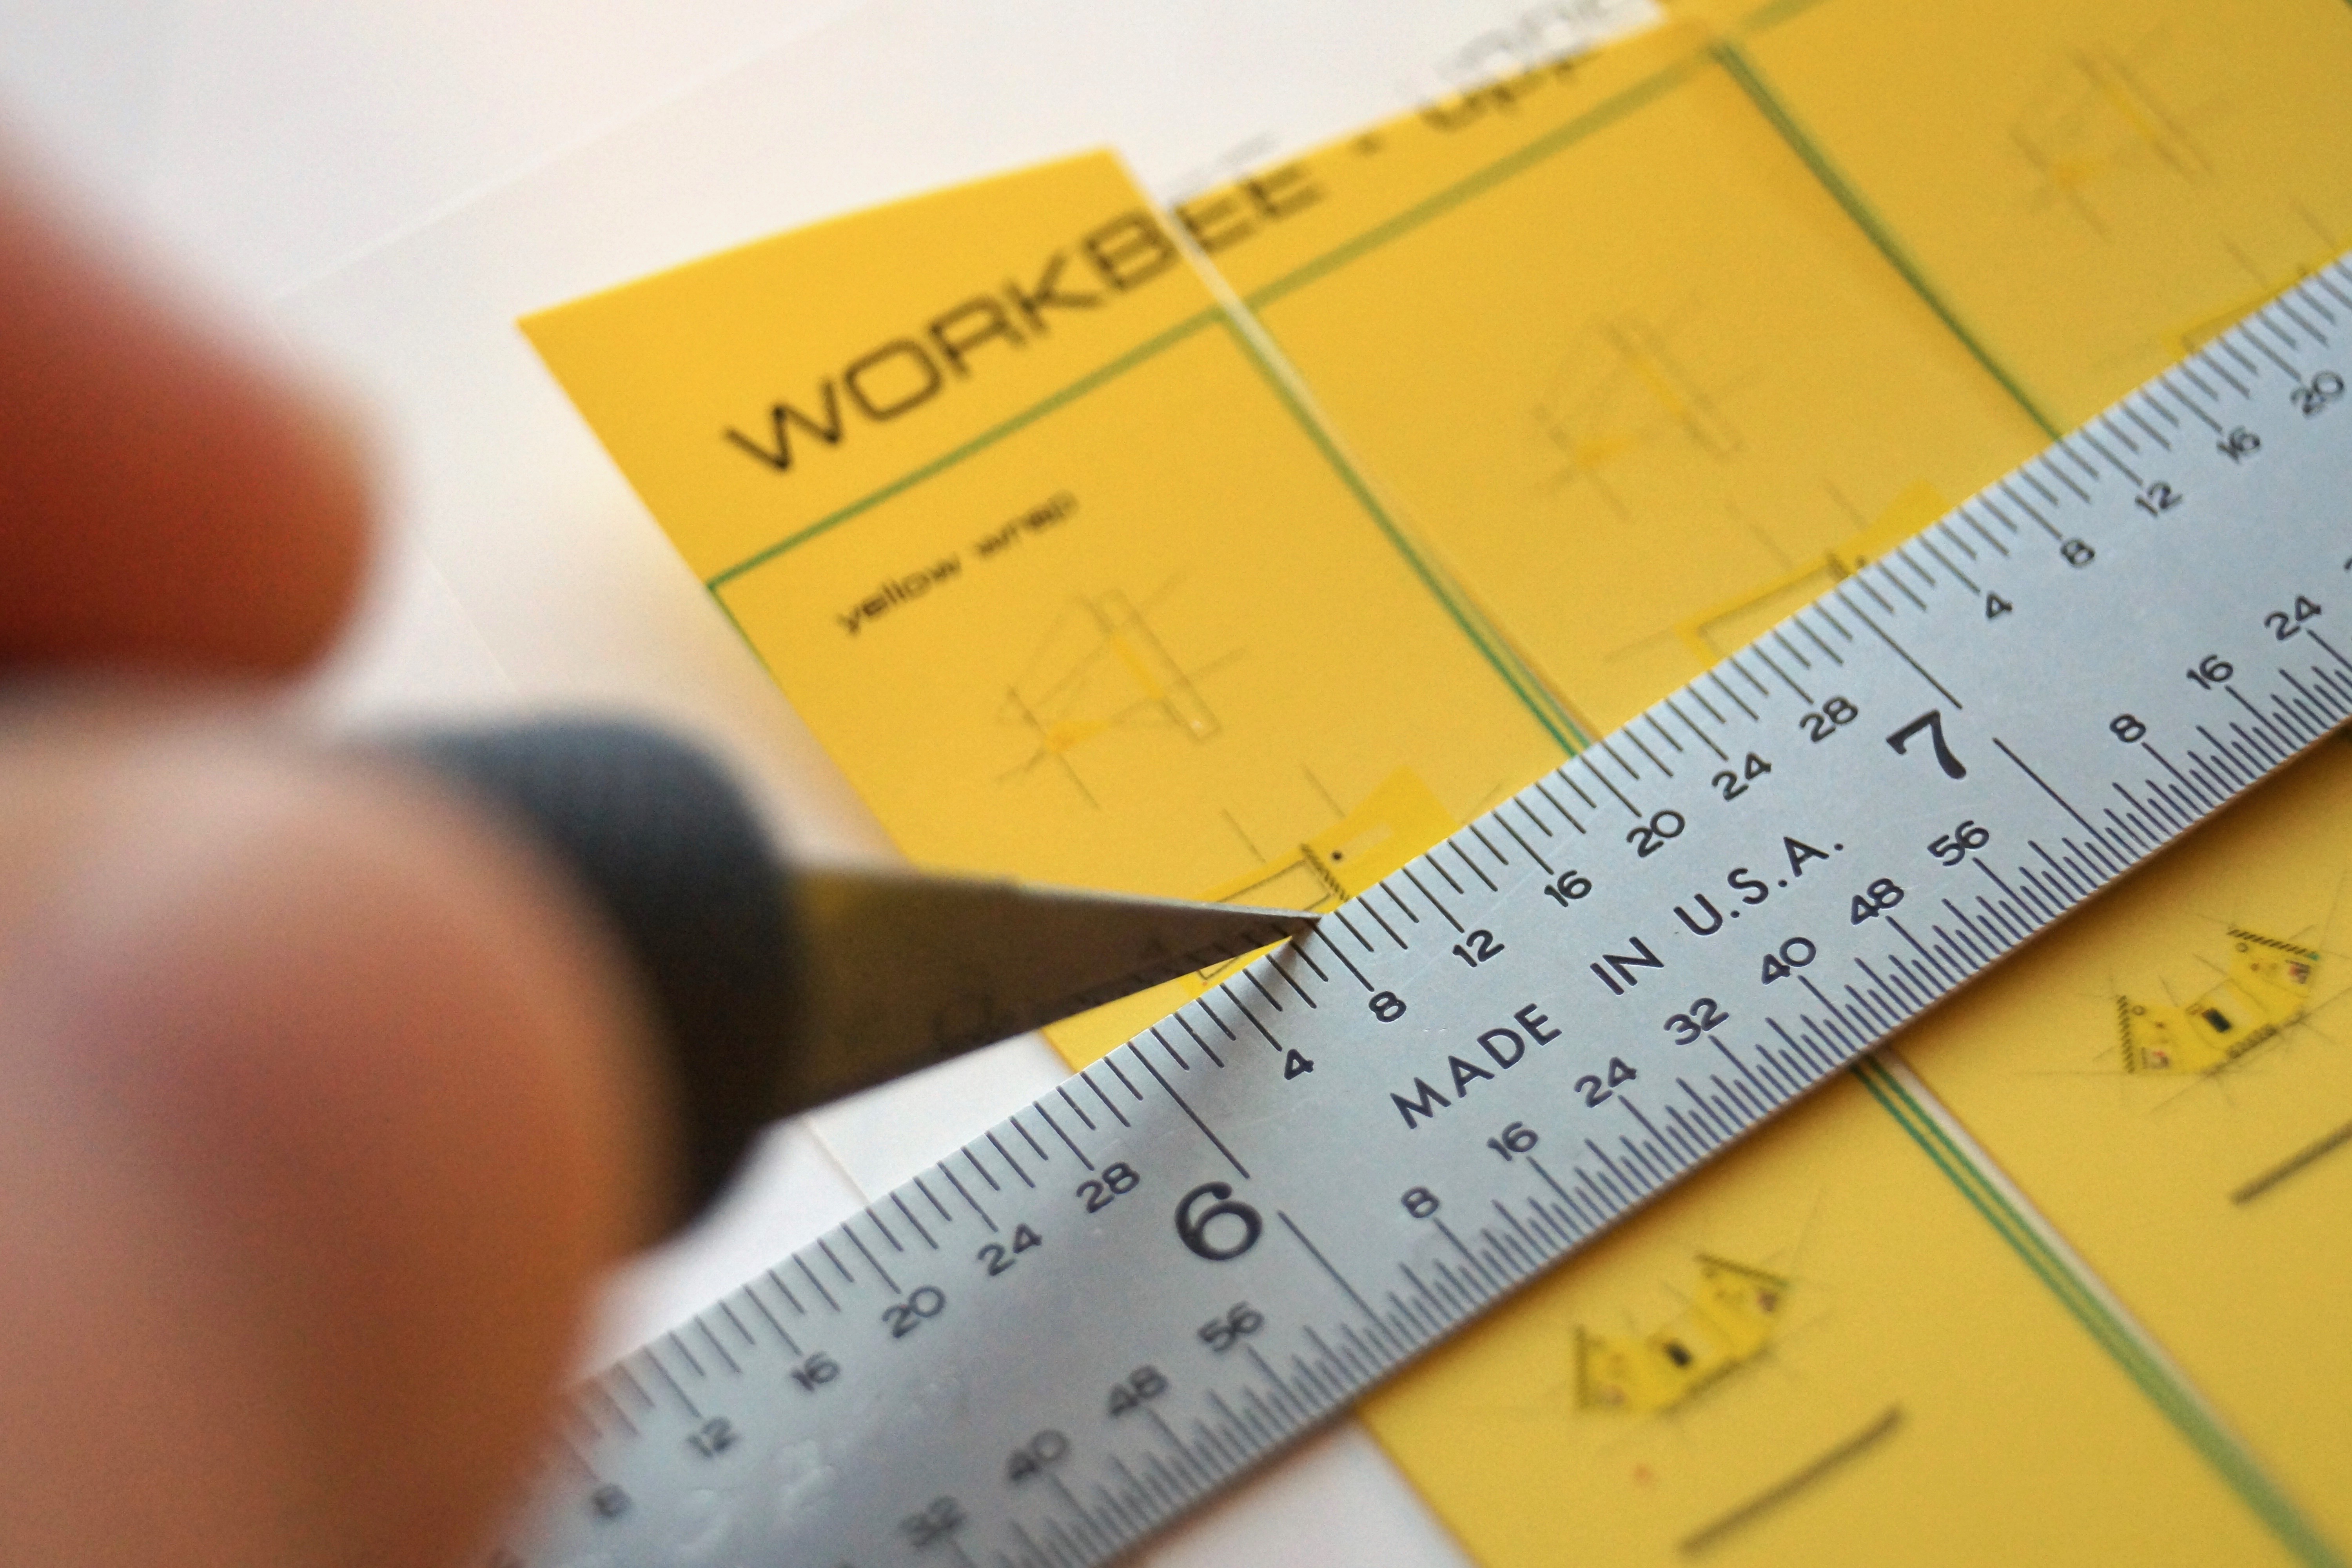
Cutting out the top face.
But I am extremely happy with were these are at the moment. With the new set of prints I hope to print up tomorrow, and some more focused and precise cuts and assembly, I think I am there with where I can take the upper half build of the of the basic hull shape.
I am confident I can take it up that extra level as I rushed a little last night cutting out the acetate layers and can get them cleaner and more precise if I take my time. And the refined artwork and new set of print runs should fix the gap issues on these.
Beyond the gap issue I also noticed some flaws in the artwork details that will need to be fixed.

Port side 3/4 front view upper-hull
sitting on a penny (for scale).
First that the red port side running light got inadvertently deleted from the side panel artwork.
I can add that back in by going back and cutting and pasting form an earlier revision of the artwork. Validating my compulsion to always save previous rounds of edits when doing graphic design work. Something learned long ago in my job.
I don’t know how many times a client invariably want to go back to a previous version after six rounds of changes. So graphic designer life lesson number one: Always save your previous versions!

Port side 3/4 aft view.
Second, the five rectangular vents with 50% black color fills on the aft hatch lower edge don’t really work.
I had hoped that the half-toning the printer would use as a default would produce a nice and even “grid” pattern (a vent grill) but it really just muddied up the shapes instead. I think I will make them outlines with no fill, and instead see if I can mange a dark grey paint fill on them instead. I already planned on doing this for the orange attachment point panels on the front sides. You can see those in the 1/4 side detail image, where it is outlined in very thin magenta lines. I didn’t paint them in this test run, but will on the final workbee builds.

Side 1/4 view detail.
After these fixes; the missing light, the bad half-toning, and the fixes to the acetate layer to accommodate the fold radius and thickness of the acetate itself, it is on to fabricating the lower hull part. A lot of the lessons learned so far in working out how to fabricate the upper shell will hopefully speed the process and inform some of the edits I have to make on the preliminary artwork I drew up a little over a month ago for that part.
Then the power-coupling “spine” assembly artwork and builds, which attach to the roof/upper aft panel. That will pose some unique challenges as that will basically have to be assembled “around” the fiber optic filament that will be coming up through the roof. You can see where that is in the photos to the right by where there is a black dot on the roof. That is the thickness of a 0.25mm fiber optic filament. After that, the louvered headlight assembly will be up next, followed finally by the pilot and the cabin interior.

Aft 3/4 view close-up.
I already have some novel ideas how to produce the front louver slats that cover the headlights in the actual filming model. I will explain more about that once I get to that stage of the build.
It is also worth mentioning that the window tinting film is not show in this quick test assembly. I am still debating whether to put them on the inside of the acetate shell, or on the outside. There are pros and cons to each approach. Right now I am leaning on having them on the inside, as the cut and fitting will be far less challenging than squeezing them seamlessly inside the outside vinyl strips of the window columns, etc.
Regardless of which direction I go with those, I will also need to fill the window spaces with a clear acrylic topcoat and let it dry and cure level with the frames. The thickness of to bring the windows flush with the outside vinyl panel surfaces.
So still a long road ahead just on the first workbee. But I am excited that I can actually get this to the level I want.
