
The Pro Silent Air Compressor I purchased from Golden Depot arrived today, as did the new quad airbrush stand I ordered.

Pro Silent Compressor and airbrush stand.
First thing you notice is that this thing is built like a frackin’ tank. It is a 1/2 HP air compressor with an integrated 2 liter tank and is solid as a rock, and weighs like one as well. Clocking in at just over 20kg (44 lbs), it is shocking how heavy it is. Luckily it has a very sturdy handle, and the weight is fairly evenly distributed. So while it is far for light, carrying it is not too much of a hassle. It also comes with some solid office chair style screw-in casters. So after those were installed it’s now easy to move around on a hard surface or even a carpeted floor.

The hideous “Pro Silent” logotype sticker.
The second thing you notice (and I braced myself for it when I ordered it) was the stunningly ugly “Pro Silent” sticker affixed to the sides of the casing. Perhaps it is the graphic designer snob in me, but man that is (or rather was) one ugly logo and lettering. Thankfully the case itself is solid metal with a hard-baked enamel paint and the aforementioned design atrocity was simply some printed vinyl label which came off without a hitch once I got one of the female “fingers” in the logotype pulled up.
The compressor itself ships without any lubricant in it, but does come with a large bottle (roughly a part) of ISO32 lubricating oil which you have to pour into the feed tube before you run it. So after spending some time carefully filling the oil reserve, transferring my airbrush hose from my old compressor to the new one, I hooked up my old single-action Olympos HP-18B airbrush to give it an initial test run. After bringing the tank up to pressure almost silently, there is just a quiet yet audible “pffft” as the safety switch trips once the PSI gets to 10kg in the tank. Not that loud at all and totally acceptable.

“Pro Silent” sticker meets its rightly earned fate.
The compressor only kicks in if the tank pressure subsequently drops below 5kg PSI, then it quietly pumps up the holding tank to the 10kg again then “pffft” shuts off. The entire time, the regulator with integrated humidity trap, keeps the air pressure feeding the airbrush hose line at the constant level you have the regulator set at.
The regulator is pretty standard with the “pull-out” clickable rotating nozzle handle which allows you to set the PSI to what you want. You then push the nozzle down and it clicks into place and locking in the target PSI.
After I made sure the compressor was working as advertised, I unhooked my old airbrush and connected up my new airbrushes. First the Iwata Eclipse, then the Olympos Micron. I just shot water through it as I didn’t want to pull out any paints or inks just yet. As I was doing all this on the kitchen counter in case I had any oil filing mishaps I didn’t want to tempt fate with any pigments or stainable liquids. ISO 32 is actually a biodegradable vegetable oil so no toxicity at all so no risk doing this in the kitchen.
Needless to say, compared to the constant rumble of my old tank-less compressor this is pure heaven.
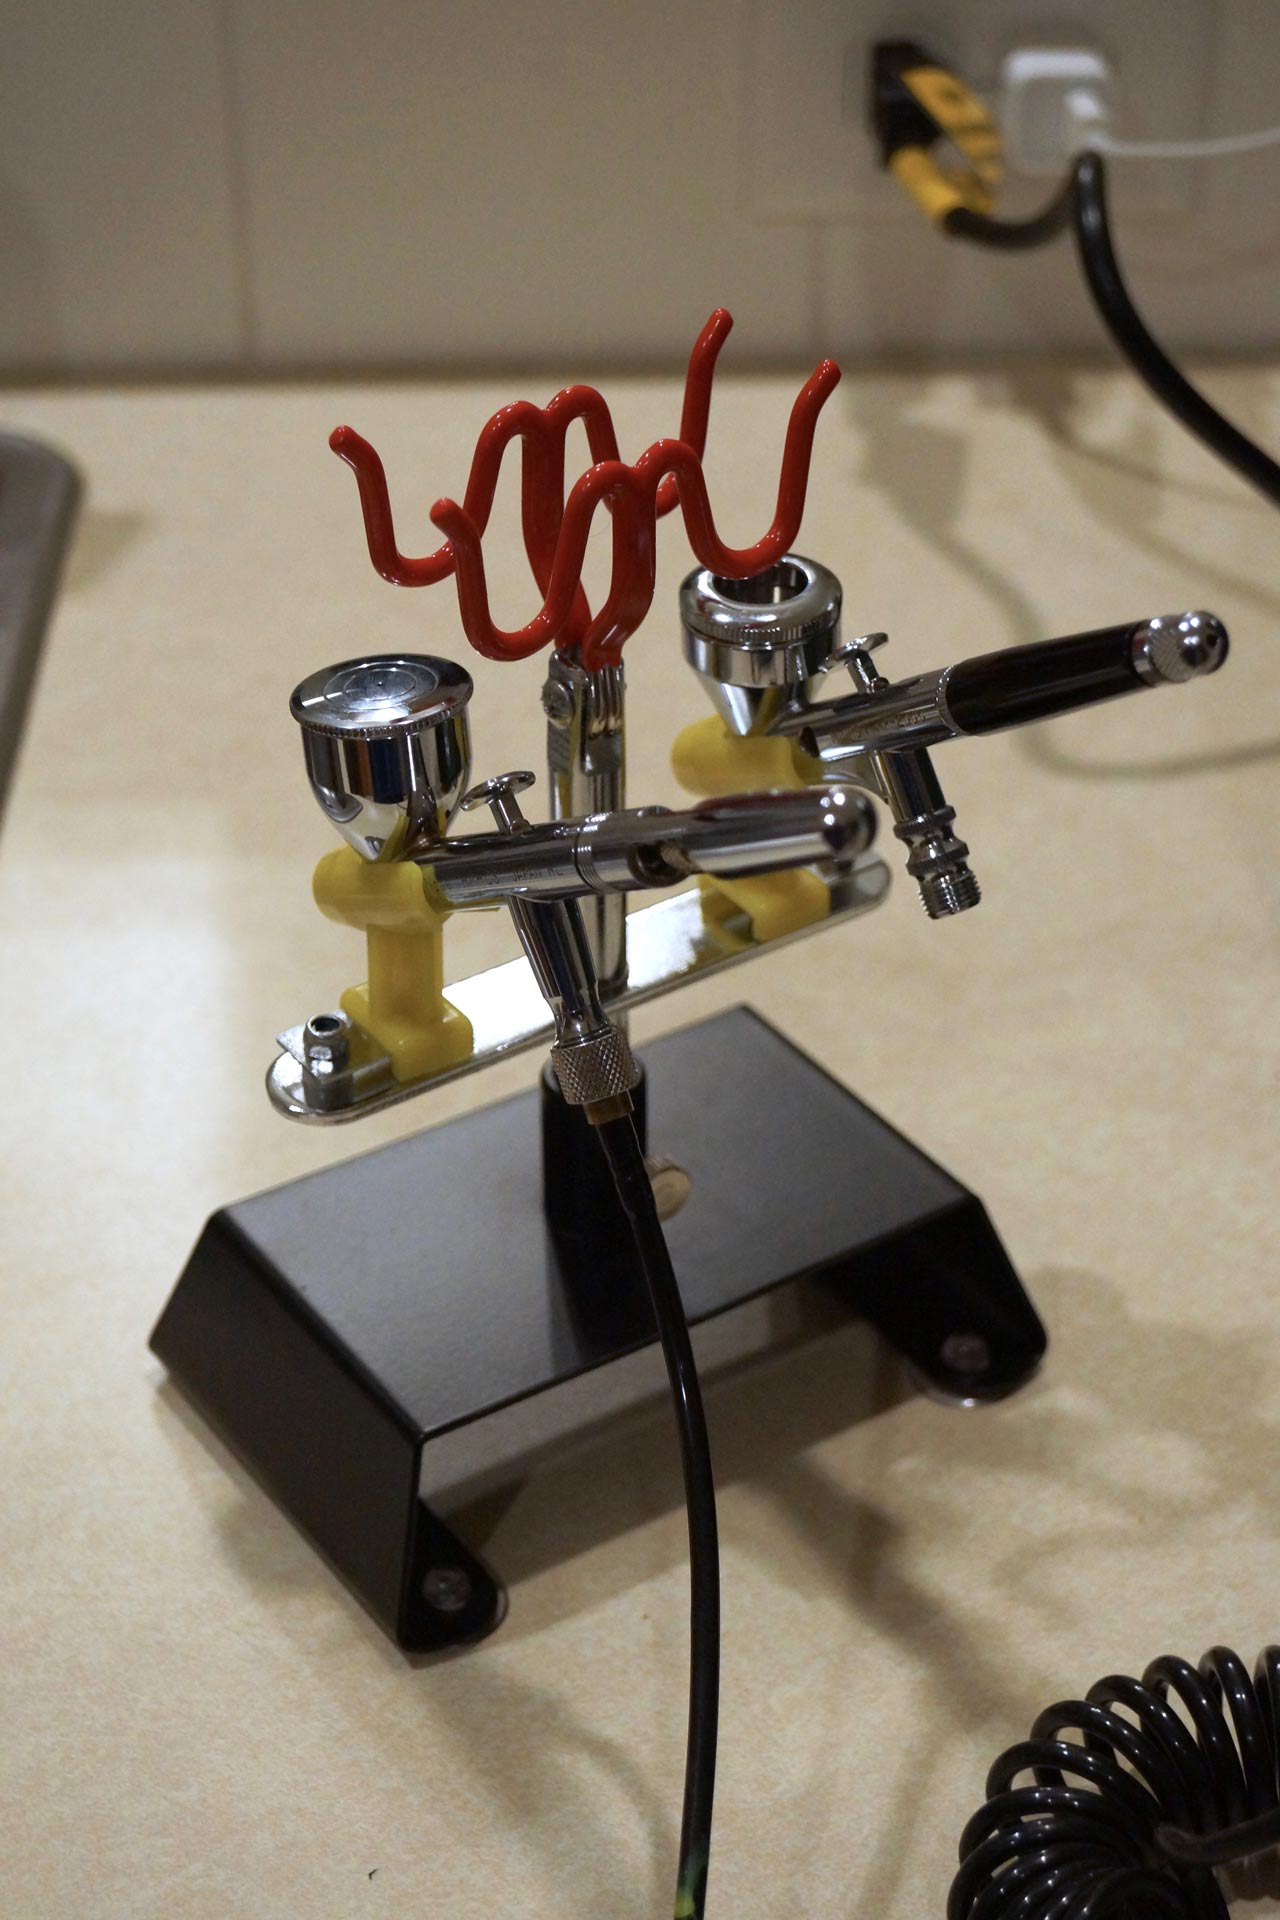
New 4-airbrush stand.
My new airbrush stand I purchased off of eBay from air soft express also arrived today. Since my two new dual-action airbrushes have the integrated gravity feed cups (my old Olympus HB is a bottle/siphon feed) this stand is pretty much essential. This allows you to put the airbrush down without spilling any of the liquid you have loaded up in the gravity-feed well.
The stand I purchased can hold up to 4 airbrushes. It has two rubber coated hanging hooks, and two angled swivel barrels. The arms are metal, as is the base. It has rubber suction cups on all four corners as “feet” so the stand wont move around or tip over if you are clumsily putting an airbrush into one of the cradles, etc.
Anyway. I am still quite a ways away from doing any painting on the actual build yet as I am still deep into refining my designs and build techniques for my scratch-built workbees. To that end for the past few evenings, I have been tinkering around with coming up with some test 3D object pushes to try and do some 3D printing of them.
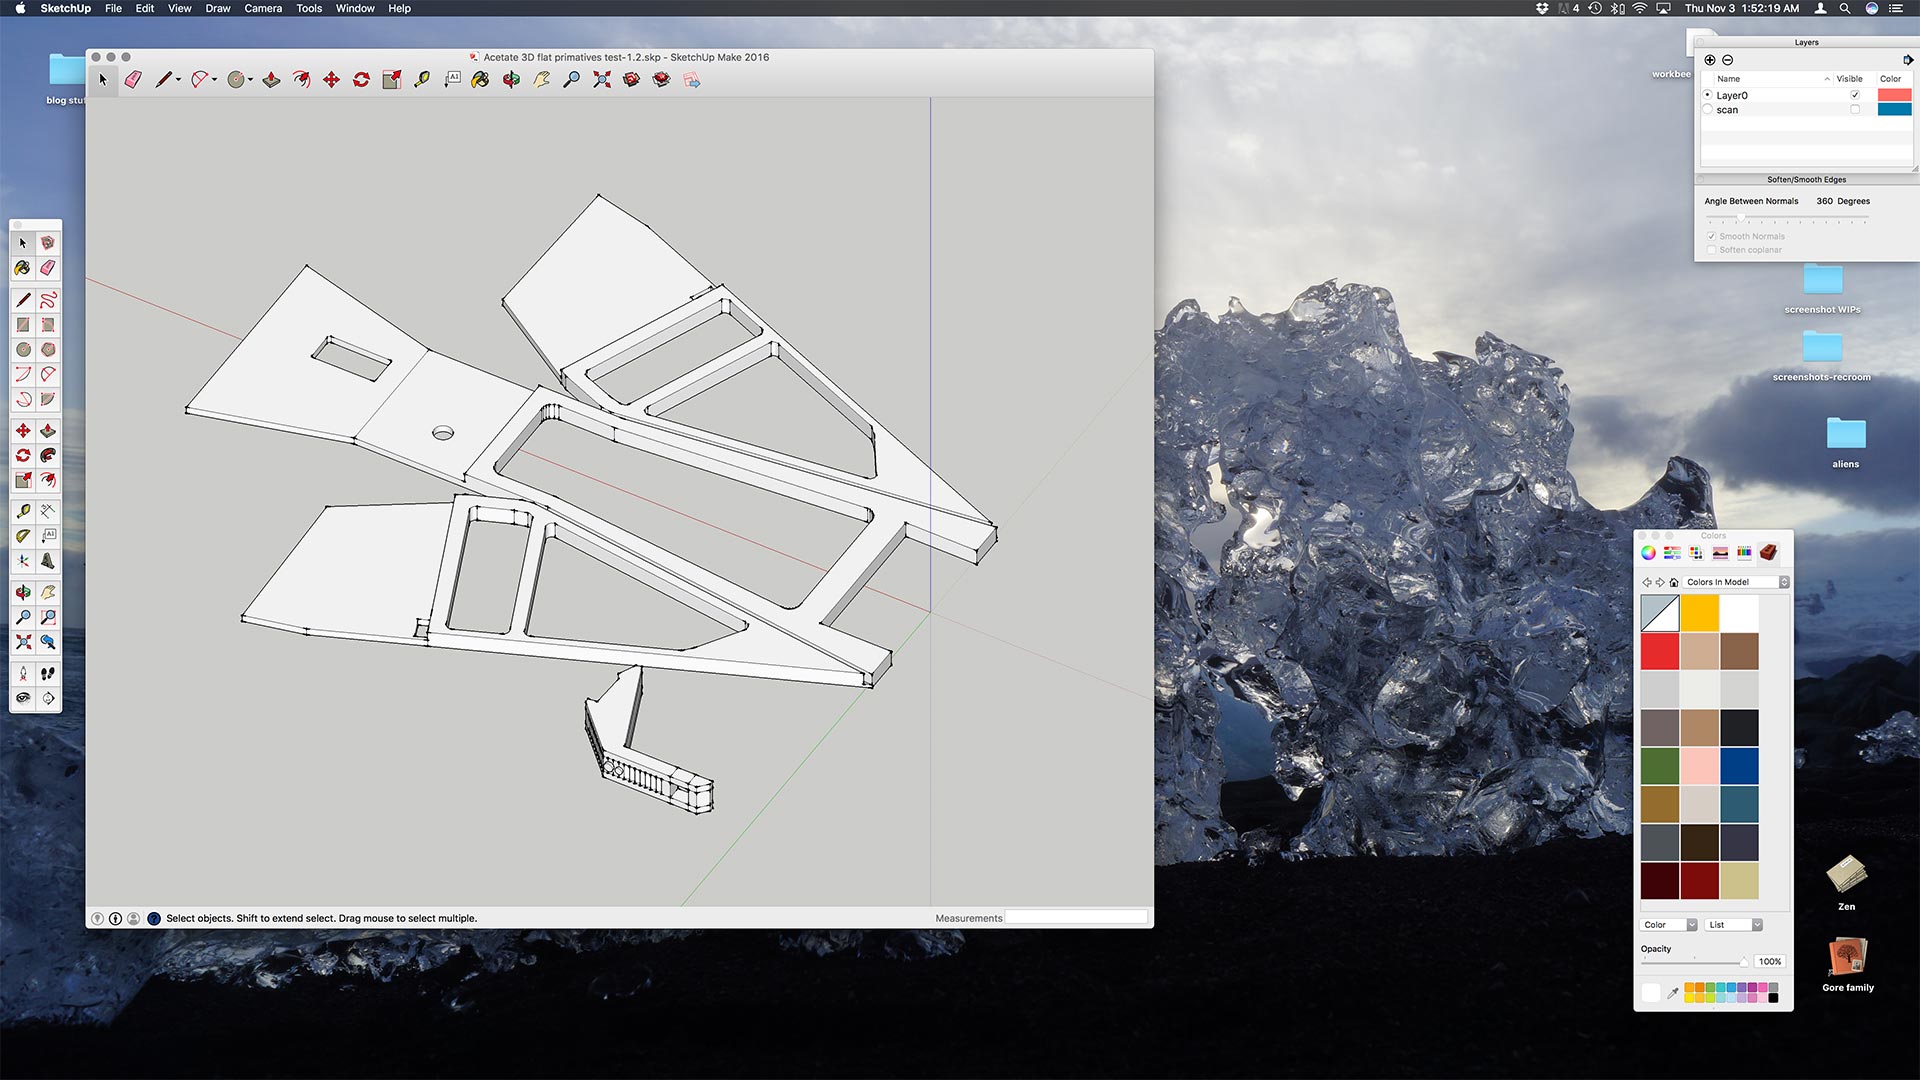
Some simplified 3D test shapes in SketchUp.
One of Michele’s co-workers, Shane, has a Lulzbotz Taz 6 3D printer and has graciously agreed to get involved and let me try out doing some 3D printing on his machine in the coming weeks. This may be a big change in direction in how I approach making the workbees themselves (not to mention some other hyper-detailing parts down the road).
Even if I don’t 3D print the workbees entirely (which I am not even sure it possible at this small a scale) I might still might be able to 3D print up the pilot and seat, as well as the “spine” assembly on the roof and aft section of the workbee.

Workbee 3D model in Cura, a 3D printing slicer app.
I know I am already starting out on the very edge of what’s printable on the most consumer-based 3D printers, to say nothing of trying to rapidly ramp up my 3D modeling skills and understanding of 3D slicer apps. It shows some promise, and even if it may not be “the solution” to my workbees, it may bear some fruit in the aforementioned parts. It might even be part of a possible hybrid approach of making some subassembly shapes to help with folding, gluing, and “assembling” the PVC tape and printed transparency film approach I have been trying up to now. The reproducibility of doing 3D printing, even if it’s just parts to use in conjunction with my hand-cut pieces, would be a huge boost.
Michele’s co-worker has tentatively suggested I come by his place on Monday after work to try out some of the files I have been putting together on his printer. In the meantime, I will continue to work on the 3D meshes and conversions into .stl files as well as seeing how they are handled in the 3D slicer app Cura, which is what the Taz 6 is hooked up over at Shane’s place.

Pingback: Pro Silence is Golden – Third Wave Design
Hello, i just purchased one of these compressors and while filling it with the included lubricant I noticed the oil gauge hasn’t registered. Should i wait awhile to see if it does?
LikeLike
Hello Mike. Not sure how much of the lubricating oil you have put in so far. But I ended up putting in almost the entire bottle that came with it when it finally starts showing on the oil level window. Until then, it seemed to not be registering. So if you have not put in a lot of the oil yet, I would recommend keep adding it and when you get about 80% or so in, you should start to see it in the window.
Hope that helps.
LikeLike
What is the cost of the compressor
LikeLike
Hello Robert. The cost of the compressor was $97.64. It was a special deal via eBay from a company that had a ton of them the were moving back inventory on. Not sure if they still have them or not. In fact going back and clicking on my receipt, the item and the link are dead. SorryI can’t be of more help.
LikeLike
If you are still on this thread, I just picked up this compressor at my local pawn store. Where do I put more oil in it? Seems the water trap regulator is shot. Is this worth my time and money to get it back working correctly? I got it next to nothing
LikeLike