
This morning I cut out my test print (and paint) of the upper half of one of a workbee I started last night.
After giving the test piece’s down-and-dirty yellow paint about 8 hours to dry, I cut it out and started to see how it folded. I was glad to see the paint held up well, and while there is still a little cleanup of the masked-off paint lines it turned out good.

Testing the back painting and folding durability.
As you can see there is still some clean up of residual mask adhesive gum on the inside of the windows, but overall I consider the test a big success. Also this test print on the acetate has some fold lines printed on them, as well as some micro numbering on the various shapes on the faces. So it is not as “clean” as the actual ones will be once I start making the actual workbee pieces.
In addition, the paint was just slopped on from the backside of the printed acetate with a brush. In the actual ones for the model, this will be shot with an airbrush to give a nice even coat and coverage. I will also be airbrushing several coats in three colors (not counting some of the small access port panels that will be painted in a more orange color than the base hull color). This acetate layer will also have the “bee” safety striping, hull number, surface detail lines, etc. printed on it.

Clean-up of the masking adhesive still needs to be done.
So when it comes to painting, the orange panels will be painted first (most by hand with a single hair brush) over the printed details from the back. Then the base yellow, then a white back coating to maintain the correct color of the yellow since it is not absolutely 100% opaque. Then the final color of the interior cabin. That way you will see the inside color of the cabin frame on the opposite window columns and struts when looking through the windows.
These rough test runs are helping me tremendously in refining not only the “blueprint” layouts I am working up in Illustrator. But also allowing me to evolve my approach as I see what techniques will and won’t work at this scale. Theory is nice, but what can actually be accomplished in reality is the real test.
 I now realize that the fold and cut order is critical.
For example, the very thin port and starboard pointed nose pieces and the subsequent main seams up the front/side faces need to be scored and folded first. Then the “cut out” in the center of the nose of the craft, which goes back to the flat face of the louvered projector headlights need to be cut, scored and folded after.
This is because the acetate is almost half as thick as the two super-thin pointed nose shapes on either side are wide. This makes folding something that is almost 50% of the thick as it wide very difficult. Imagine trying to fold a phone book in half to get the concept. So folding it first then cutting it to create the thin nose extensions is the way to go.
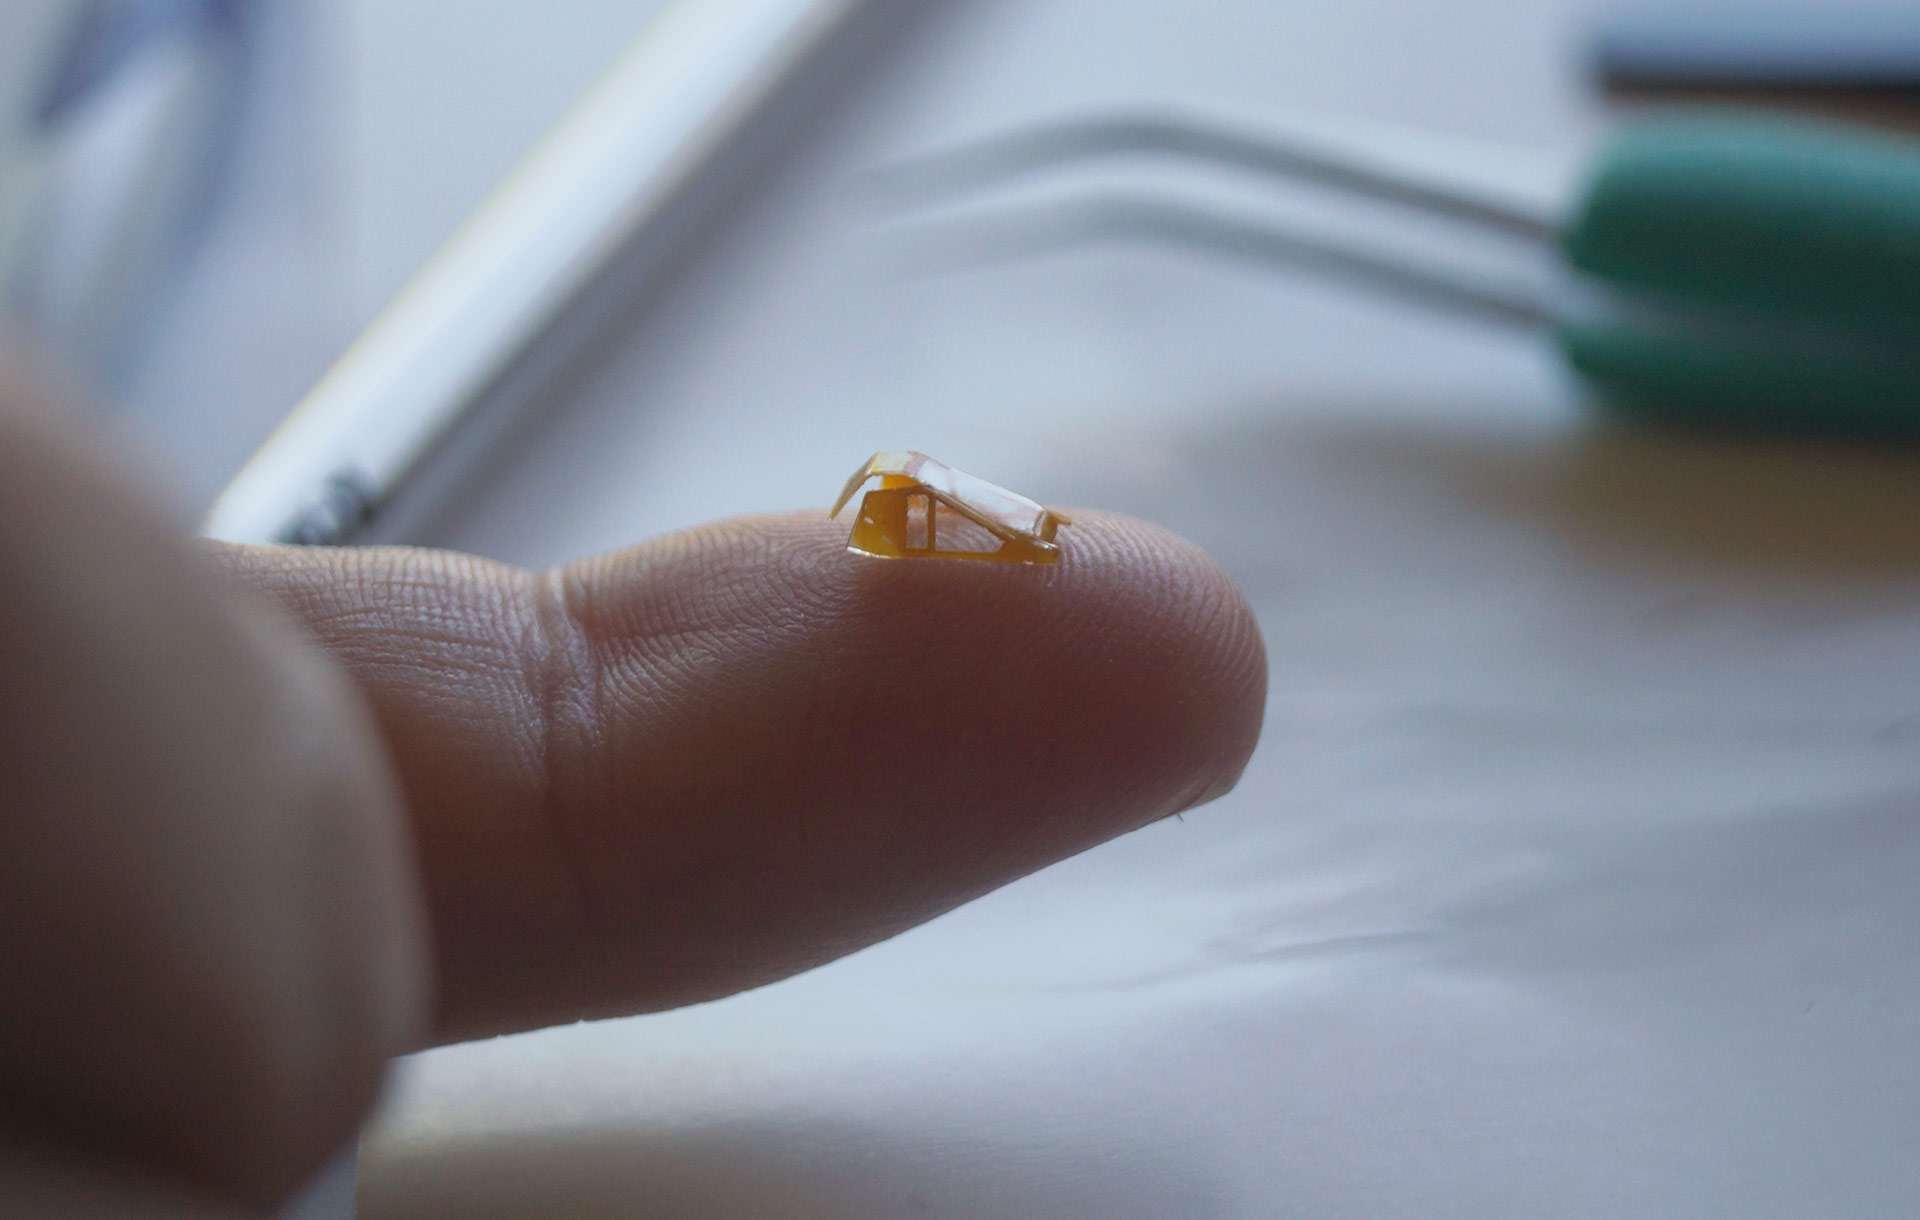
Again a sense of the scale of this stuff.
Anyway, I am excited to see this maddening approach looks feasible. And with some more refining and practice, I honestly think I can eventually nail it.
Some more experementing and testing this afternoon.
