
Just posted a YouTube clip on the latest progress on the Workbee 3D model I have been working on. Made some decent headway the past week. Only need to add one small warning label that appears on the top aft part of the chassis.

Video of a work-in-progress 3D model of the “Workbee” from “Star Trek:The Motion Picture”.
NURBS model built in Moment of Inspiration.
After that, I intend to move on to modeling the panels and detailing that are on the aft face (the power assembly-spine is complete). Then on to the side panels, headlight and it louvered slats. Once that’s done, the exterior of the upper half will be done (save for the warning “bumblebee” striping which I will do later). Then on to the underside detailing including the lower “foot” windows.


After all the exterior is done, I will be moving on to the vehicle’s interior which will be a little more speculative, since there is scant reference images of the inside of the craft.
Once that’s complete, I intended to work out the speculative interior machinery in the aft area. This would include fuel tanks, avionics, the fuel cells, etc. Like the door frame that’s already in my model, I have made some speculative changes to the inside chassis frame.

Workbee lower door frame explosive bolts (highlighted in yellow).
This was done so as to accommodate both a physical hard point for the explosive bolt to “push against” when fired (thereby blowing off the door for emergency egress) as well as allow space for a double seal set of gaskets to make the door airtight once closed.
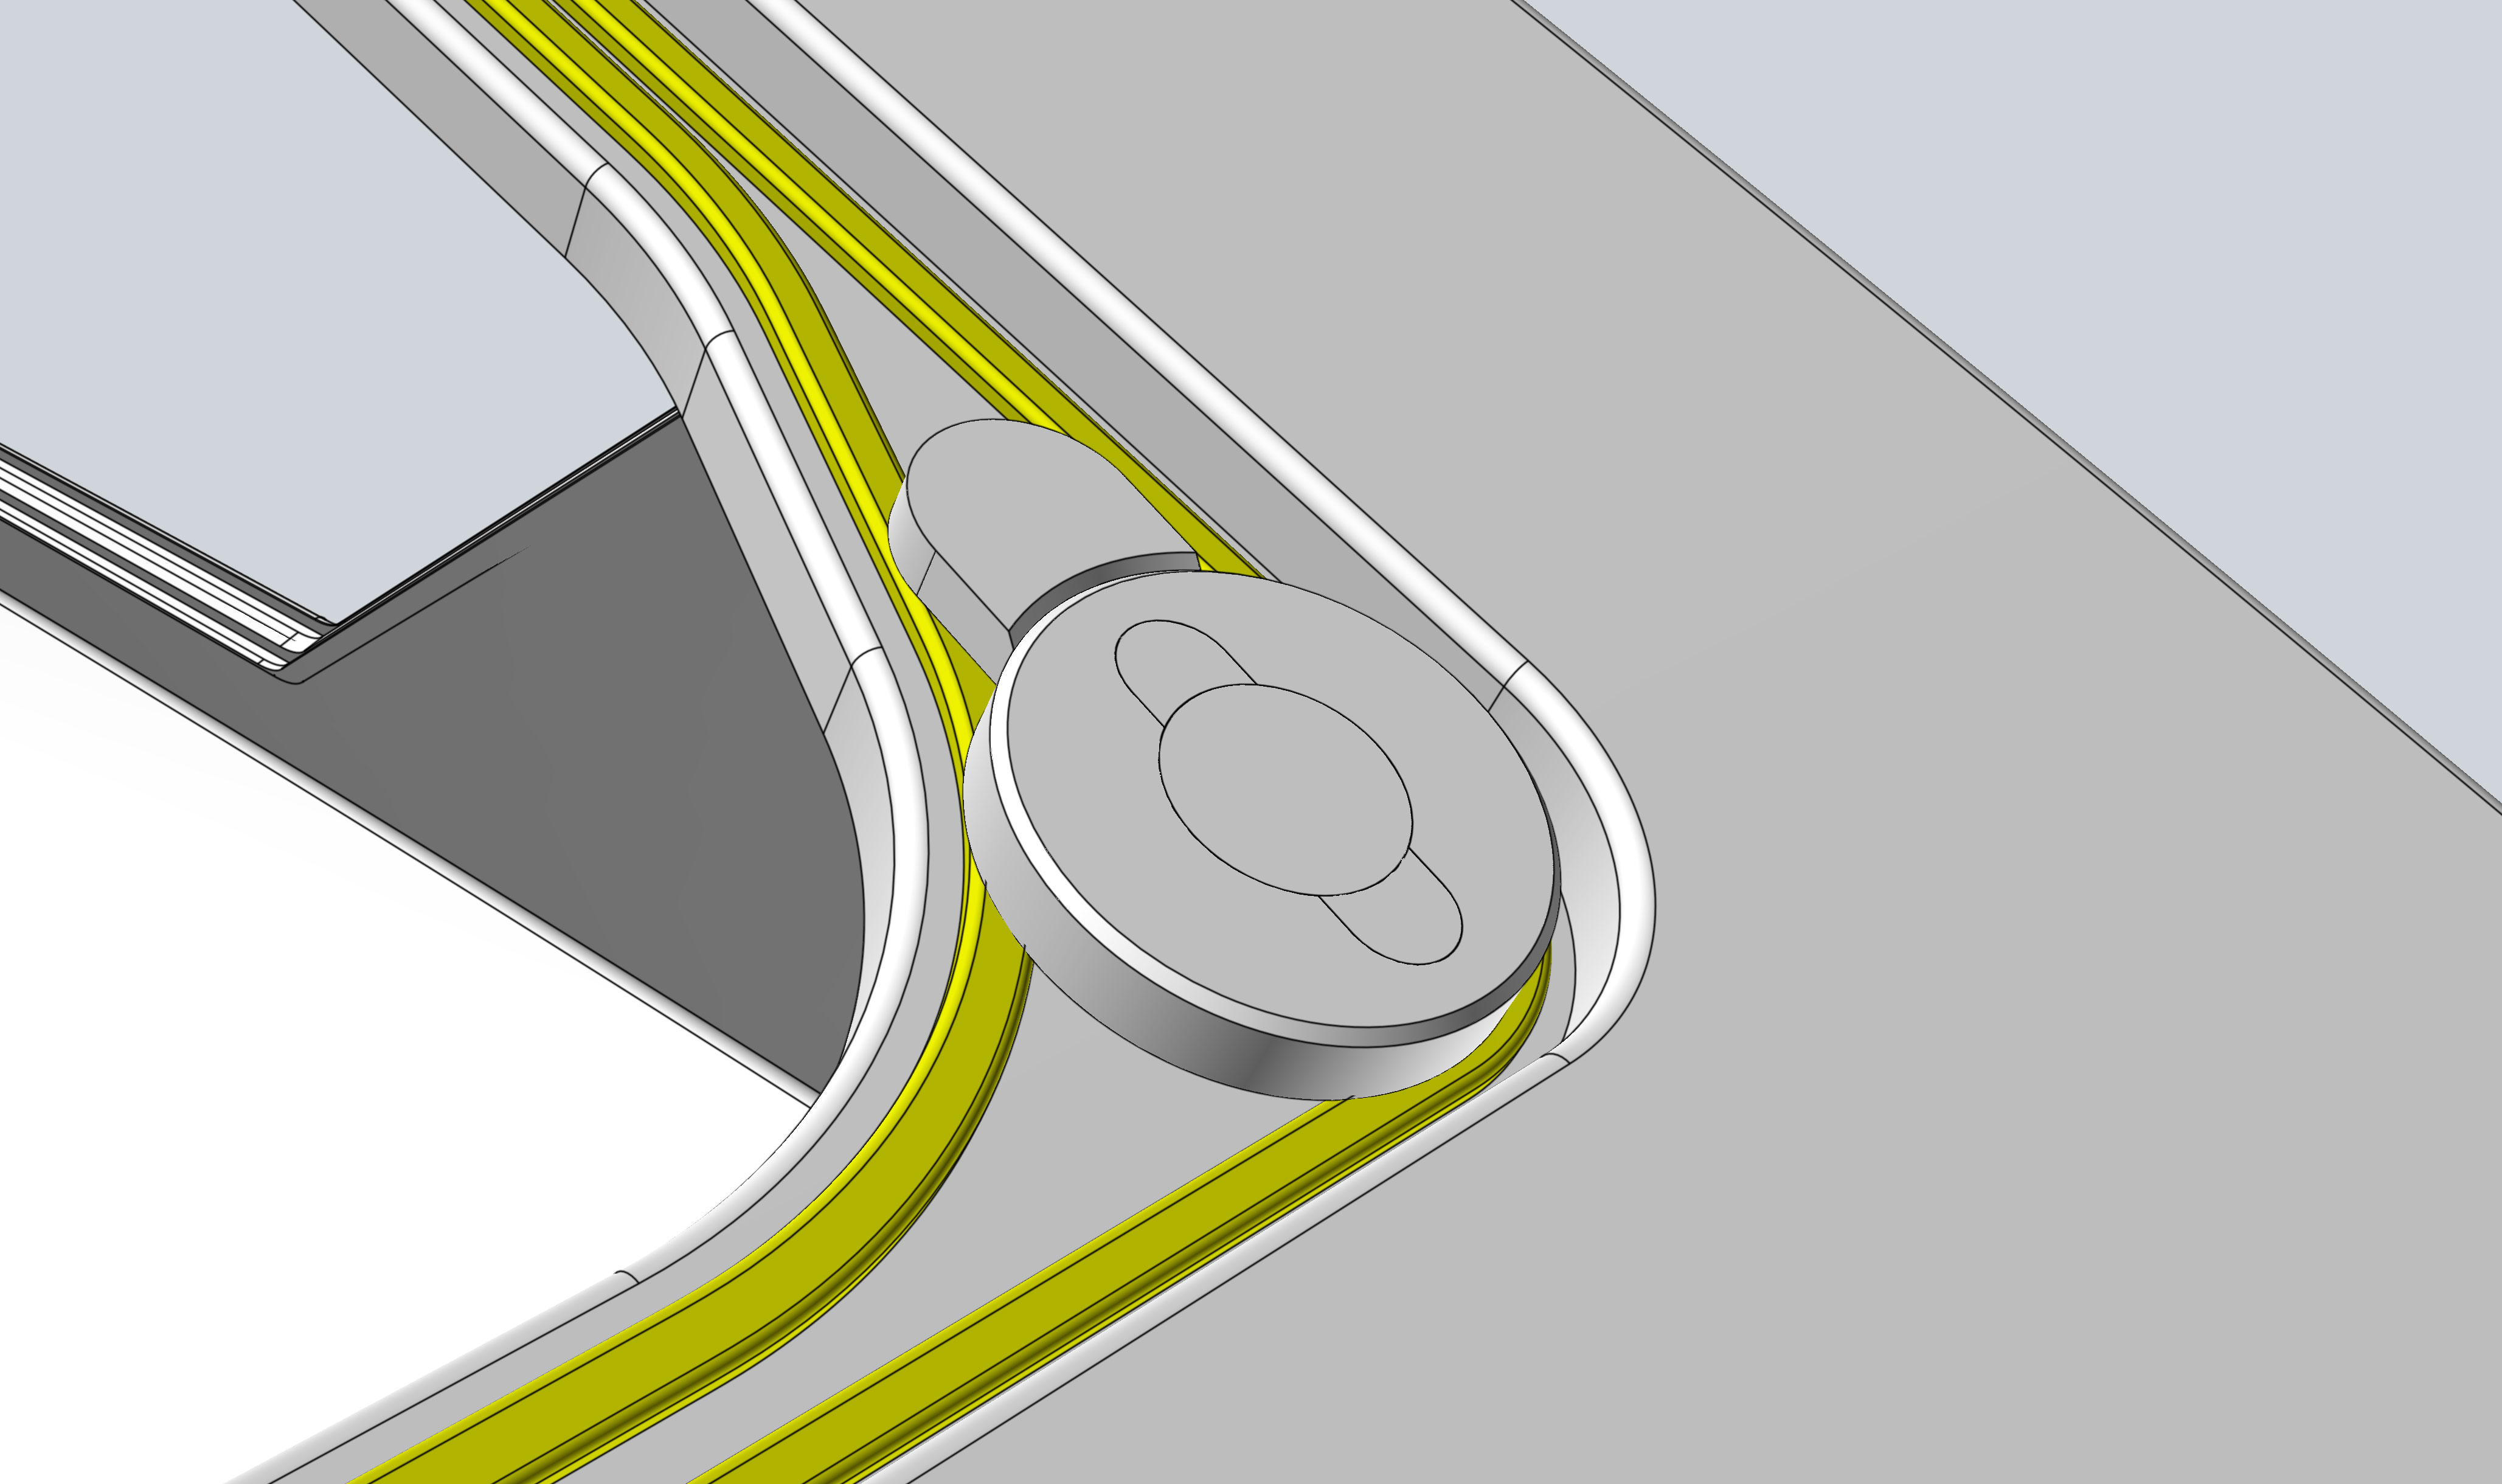
Workbee lower door frame with double seal gaskets (highlighted in yellow) which go around the inset explosive bolts.
The door itself is not shown in this view.
I will probably hold off on doing the full interior for a bit, as I want to get the complete exterior done first. This so I can use it for my Anycubic Photon 3D printer I purchased just after Thanksgiving.

I love this project. Excellent work! Please continue!!!!
LikeLike
Thanks. Hope to have another update on the 3D modeling this weekend.
LikeLike